At-home brow waxing, step by step
A calm, step-by-step guide to shaping brows at home with a water-activated wax pen and mini strips.
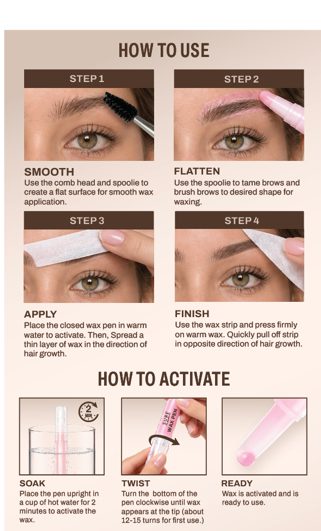
At-home waxing sounds intimidating, but most of it comes down to preparation and patience. Work slowly, remove a little at a time, and always follow the directions and cautions on your package.
Before you start
- Read all directions and cautions on the package.
- Start with clean, dry skin, and skip waxing on skin that is irritated, sunburned or broken.
- Map your brow shape first, so you only remove hair outside it.
1. Activate the wax
Stand the DIY Brows wax pen upright in a cup of hot water for about two minutes. Then turn the base clockwise until wax appears at the tip. The first time, it takes about 12 to 15 turns.
2. Smooth and flatten
Comb brows flat and brush them into the shape you want to keep. This separates the hairs you're keeping from the strays you're removing.
3. Apply a thin layer
Glide a thin layer of wax over the strays, in the direction of hair growth. Thin and precise works better than thick.
4. Press and pull
Press a mini strip firmly onto the wax, hold the skin taut, and pull away quickly against the direction of hair growth, keeping the strip close to the skin.
Common mistakes
- Taking too much at once. You can always remove more next time.
- Waxing into the brow shape instead of around it.
- Pulling the strip up and away instead of low and fast.
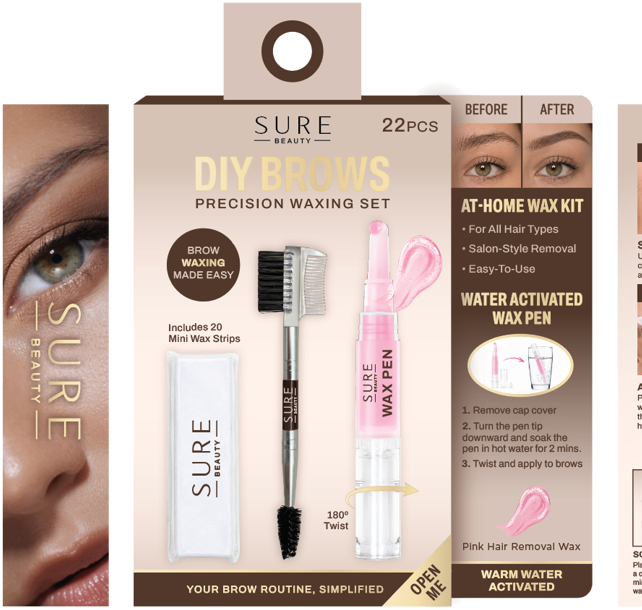 Your SURE system for thisDIY BrowsAt-home brow shaping, simplified.