How to map your brows in three points
Find where your brows should start, arch and end with one pencil and three simple reference points.
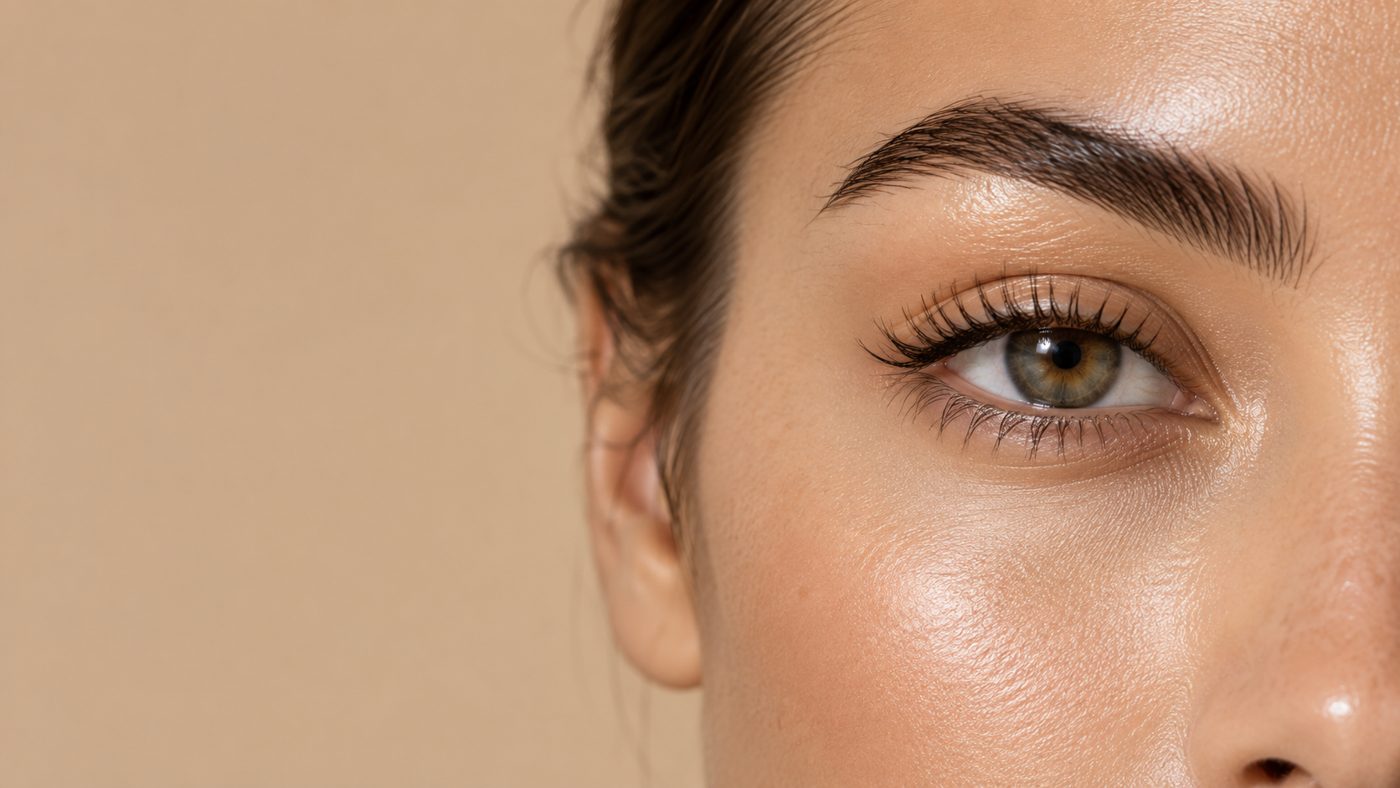
Balanced brows are less about talent and more about measurement. Every face has three natural reference points for the brow: where it starts, where it peaks, and where it ends. Find them once, and every routine after that gets easier.
What you need
Any straight pencil, a mirror in good light, and your brow pencil. A stencil helps if you want a shape to follow.
1. Find the start
Hold the pencil straight up against the side of your nose. Where it crosses your brow is where your brow should begin. Make a tiny dot with your brow pencil.
2. Find the arch
Keep the base of the pencil at the side of your nose and angle it so it passes through the outer edge of your iris while you look straight ahead. Where it meets the brow is your arch, the highest point.
3. Find the end
Angle the pencil from the side of your nose to the outer corner of your eye. Where it lands above the brow is where the tail should finish.
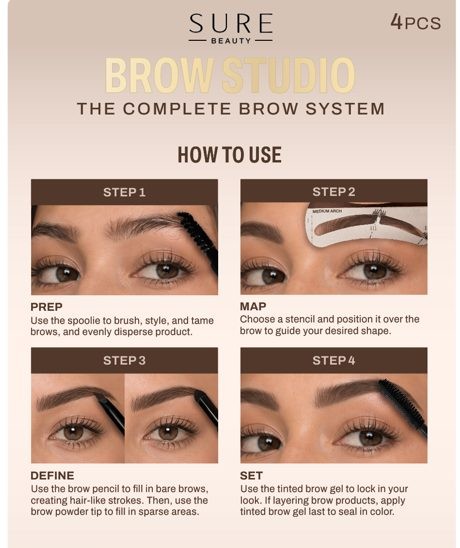
4. Connect the dots
Brush brows up with a spoolie, then connect your three points with light, hair-like strokes. Keep the start softer and lighter, and let the definition build toward the arch and tail.
Common mistakes
- Starting the brow too far in or too far out, which changes the look of your whole face.
- Drawing a heavy, solid start. Keep the front airy.
- Placing the arch too far toward the center.
If you'd rather skip the measuring, Brow Studio's stencils give you the shape in one step. Place, fill, lift.
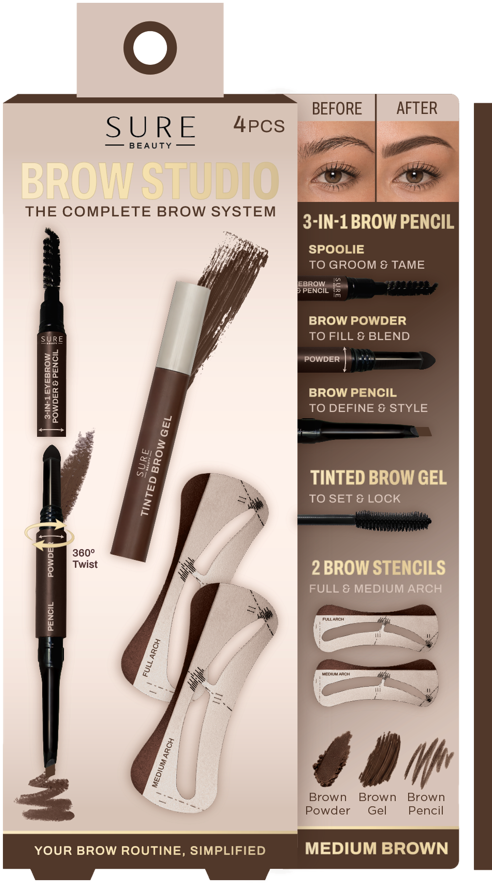 Your SURE system for thisBrow StudioTake the guesswork out of brow mapping.